
뼈대 만들기
include, extends, block
먼저 장고에서는 템플릿 상속을 통해 html코드 구현시 재사용을 편하게 하기위에 include, extends,block를 제공합니다. 여기서 먼저 include사용 예시를 봐보겠습니다.
먼저 메인 프로젝트내에서 templates폴더를 생성한 후 아래와 같이 html 파일을 만들어 주겠습니다.
그러면 파일 구조는 다음과 같습니다.
- hyunterest
- hyunterest
- accountapp
- myvenv
- templates
- base.html
- footer.html
- head.html
- header.html
- manage.py
- .env
- .gitignore
<hyunterest/templates/base.html>
<!DOCTYPE html>
<html lang="ko">
  {% include 'head.html' %}
  <body>
    {% include 'header.html' %}

    {% block content %}
    {% endblock %}

    {% include 'footer.html' %}
  </body>
</html>
<hyunterest/templates/head.html>
<head>
    <meta charset="UTF-8">
    <title>Hyunterest</title>
</head>
나머지 footer과 header는 아직 필요하지 않아서 그냥 빈 상태로 두겠습니다.
잘 적용 되는지 확인하기
먼저 잘 적용 되는지 확인하기 위해 만들어둔 accountapp에서 진행하겠습니다.
먼저 views.py에 들어가서 테스트를 할 view를 생성하겠습니다.
<hyunterest/accountapp/views.py>
def hello(request):
    return render(request, 'accountapp/hello.html')
마찬가지로 이제 이것을 들어갈 링크를 생성해 주겠습니다.
<hyunterest/accountapp/urls.py>
from django.urls import path
from .views import hello
app_name = "accountapp"

urlpatterns = [
    path('', hello, name="hello")
]
마지막으로 화면상으로 보여줄 templates을 만들겠습니다.
먼저 templates를 만들기 위해 앱안에 templates라는 폴더를 생성하고 그 안에 accountapp이라는 폴더를 또 생성하겠습니다.
구조는 다음과 같습니다.
- hyunterest
- accountapp
- templates
- accountapp
- hello.html
- accountapp
- templates
- hyunterest
- manage.py
- myvenv
- templates
- .gitignore
- 기타등등
- accountapp
그 후 다음과 같이 html코드를 입력하겠습니다.
<hyunterest/accountapp/templates/accountapp/hello.html>
{% extends 'base.html' %}
{% block content %}
  <body>
    <div style="height: 10rem; background-color: #38df81; border-radius: 1rem; margin: 2rem"></div>
    <div style="height: 10rem; background-color: #38df81; border-radius: 1rem; margin: 2rem"></div>
    <div style="height: 10rem; background-color: #38df81; border-radius: 1rem; margin: 2rem"></div>
  </body>
{% endblock %}
그 후 실행시킨 후 다음과 같은 링크에 들어가면 아래와 같은 화면이 나오는 것을 확인할 수 있습니다.
링크 : http://127.0.0.1:8000/account/

header,footer설정하기
이제 header와 Footer를 만들어서 다시 한번 수정을 해보겠습니다.
<hyunterest/templates/header.html>
<div style = "text-align:center; margin-bottom:2px;">
    <div>
        <h1>Hyunterest</h1>
    </div>
    <div>
        <span>nav1</span>
        <span>nav2</span>
        <span>nav3</span>
        <span>nav4</span>
    </div>
</div>
<hyunterest/templates/footer.html>
<div style = "text-align:center;margin-top:2px;">
    <div style="font-size:.6rem;">
        <span>공지사항</span> |
        <span>문의사항</span> |
        <span>서비스소개</span>
    </div>
    <div style="margin-top:1rem;">
        <h6>Hyunterest</h6>
    </div>

</div>
그 다음 기존에 만들었던 hello.html도 수정하겠습니다.
<hyunterest/accountapp/templates/accountapp/hello.html>
{% extends 'base.html' %}
{% block content %}
  <body>
    <div style="height: 10rem; background-color: #38df81; border-radius: 1rem; margin: 2rem"><h3 style="padding:2rem">Body</h3></div>
  </body>
{% endblock %}
마지막으로 base.html을 수정한 다음 실행시켜 보겠습니다.
<hyunterest/templates/base.html>
<!DOCTYPE html>
<html lang="ko">
  {% include 'head.html' %}
  <body>
    {% include 'header.html' %}
    <hr>

    {% block content %}
    {% endblock %}
    <hr>

    {% include 'footer.html' %}
  </body>
</html>
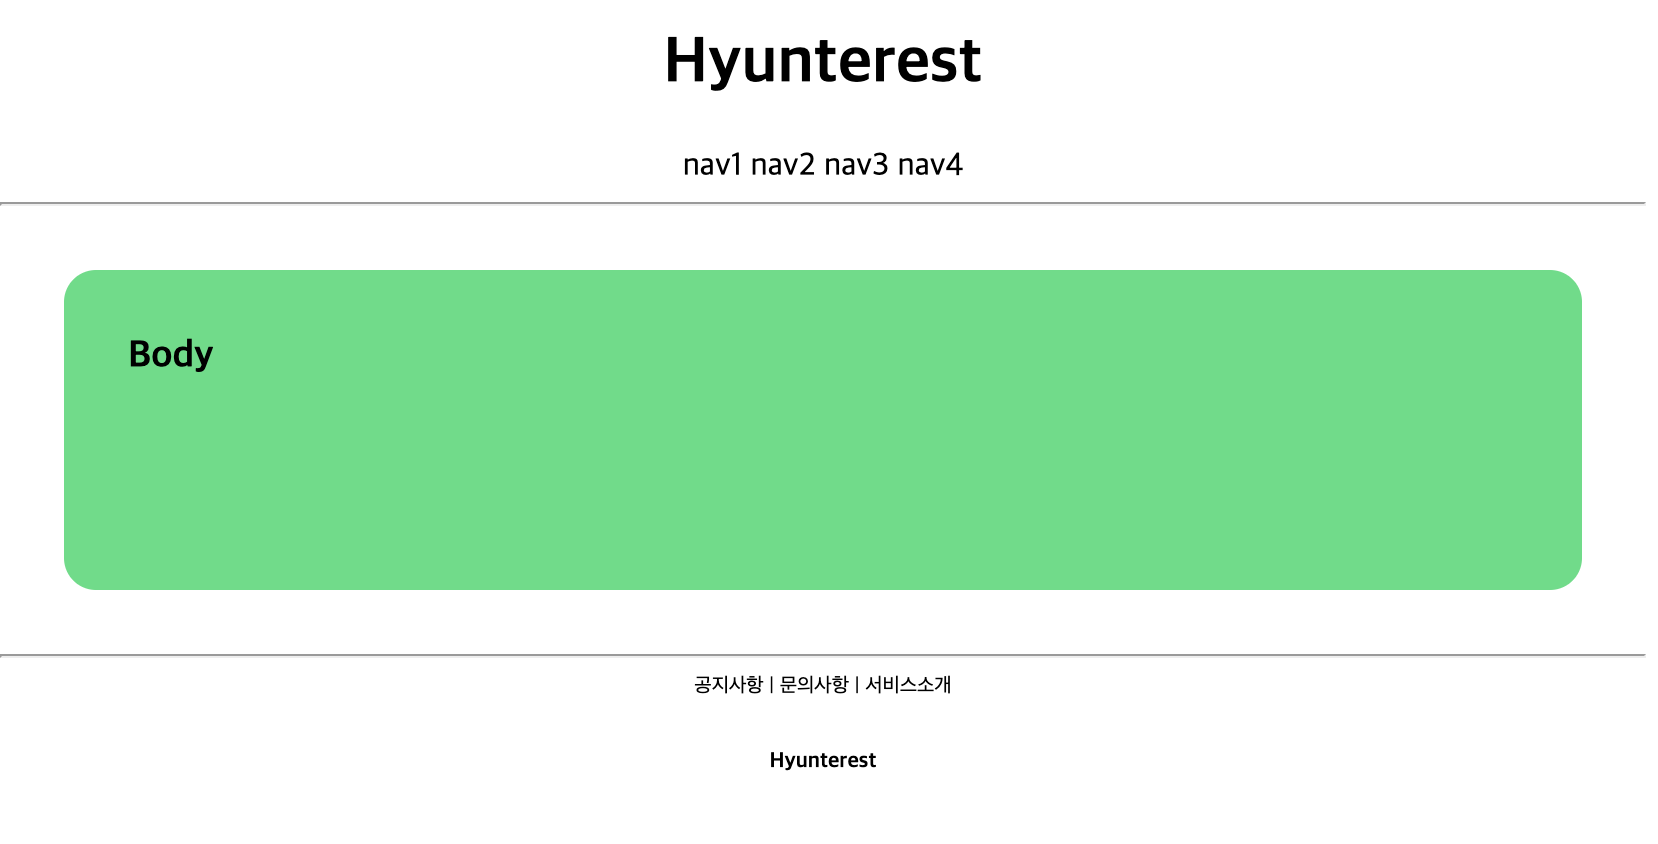
이렇게 서로 영향을 미치지 않고 잘 변경 된 것을 확인할 수 있습니다.
참고
프로젝트 관련 참고 영상은 아래 유튜브를 참고하고 만들었습니다.
https://www.youtube.com/watch?v=RWEZITw27Ts&list=PLQFurmxCuZ2RVfilzQB5rCGWuODBf4Qjo
코드를 참고하고 싶으면 아래의 주소를 참고 하시면 되겠습니다.
https://github.com/HyunAm0225/hyunterest
HyunAm0225/hyunterest
pinterest사이트 Clone 코딩. Contribute to HyunAm0225/hyunterest development by creating an account on GitHub.
github.com
Django로 Pinterest만들기
001. 프로젝트 세팅하기
001. 프로젝트 세팅하기
프로젝트 세팅하기 폴더와 가상환경 만들기 먼저 장고 프로젝트를 만들기위한 폴더를 만들겠습니다. 먼저 저는 저의 이름을 따서 hyunterest라는 폴더를 만들겠습니다. 그리고 그 후 폴더 안에 들
hyun-am-coding.tistory.com
002. Account App 만들기
hyun-am-coding.tistory.com/entry/002-Account-APP-%EB%A7%8C%EB%93%A4%EA%B8%B0
002. Account APP 만들기
Account App만들기 django에서 App생성하기 먼저 다음과 같은 명령어를 통해 App을 생성하겠습니다. python manage.py startapp accountapp 그러면 다음과 같이 폴더 구성이 됩니다. hyunterest accountapp hyunte..
hyun-am-coding.tistory.com
003. Django 뼈대 template html 만들기
003. Django 뼈대 template html 만들기
뼈대 만들기 include, extends, block 먼저 장고에서는 템플릿 상속을 통해 html코드 구현시 재사용을 편하게 하기위에 include, extends,block를 제공합니다. 여기서 먼저 include사용 예시를 봐보겠습니다. 먼
hyun-am-coding.tistory.com
'Django > Django로 pinterest만들기' 카테고리의 다른 글
| Django Form에 bootstrap적용하기 (0) | 2020.12.29 |
|---|---|
| Header과 Footer 꾸미기 (0) | 2020.12.22 |
| 002. Account APP 만들기 (0) | 2020.12.17 |
| 001. 프로젝트 세팅하기 (0) | 2020.12.17 |


댓글